

A proper gaming computer is only as good as the foundation it is built upon. That foundation of course being a desk. Whether a short session of gaming, or a weekend marathon, gamers should take care to make sure their gaming hub has all the necessary accommodations to make the most of your time with a game. With a new gaming rig on the way, I decided it was time to prepare a new base of operations for all things video games. Click the link to see how I refurbished an old desk and turned it into a fully operational gaming battlestation.
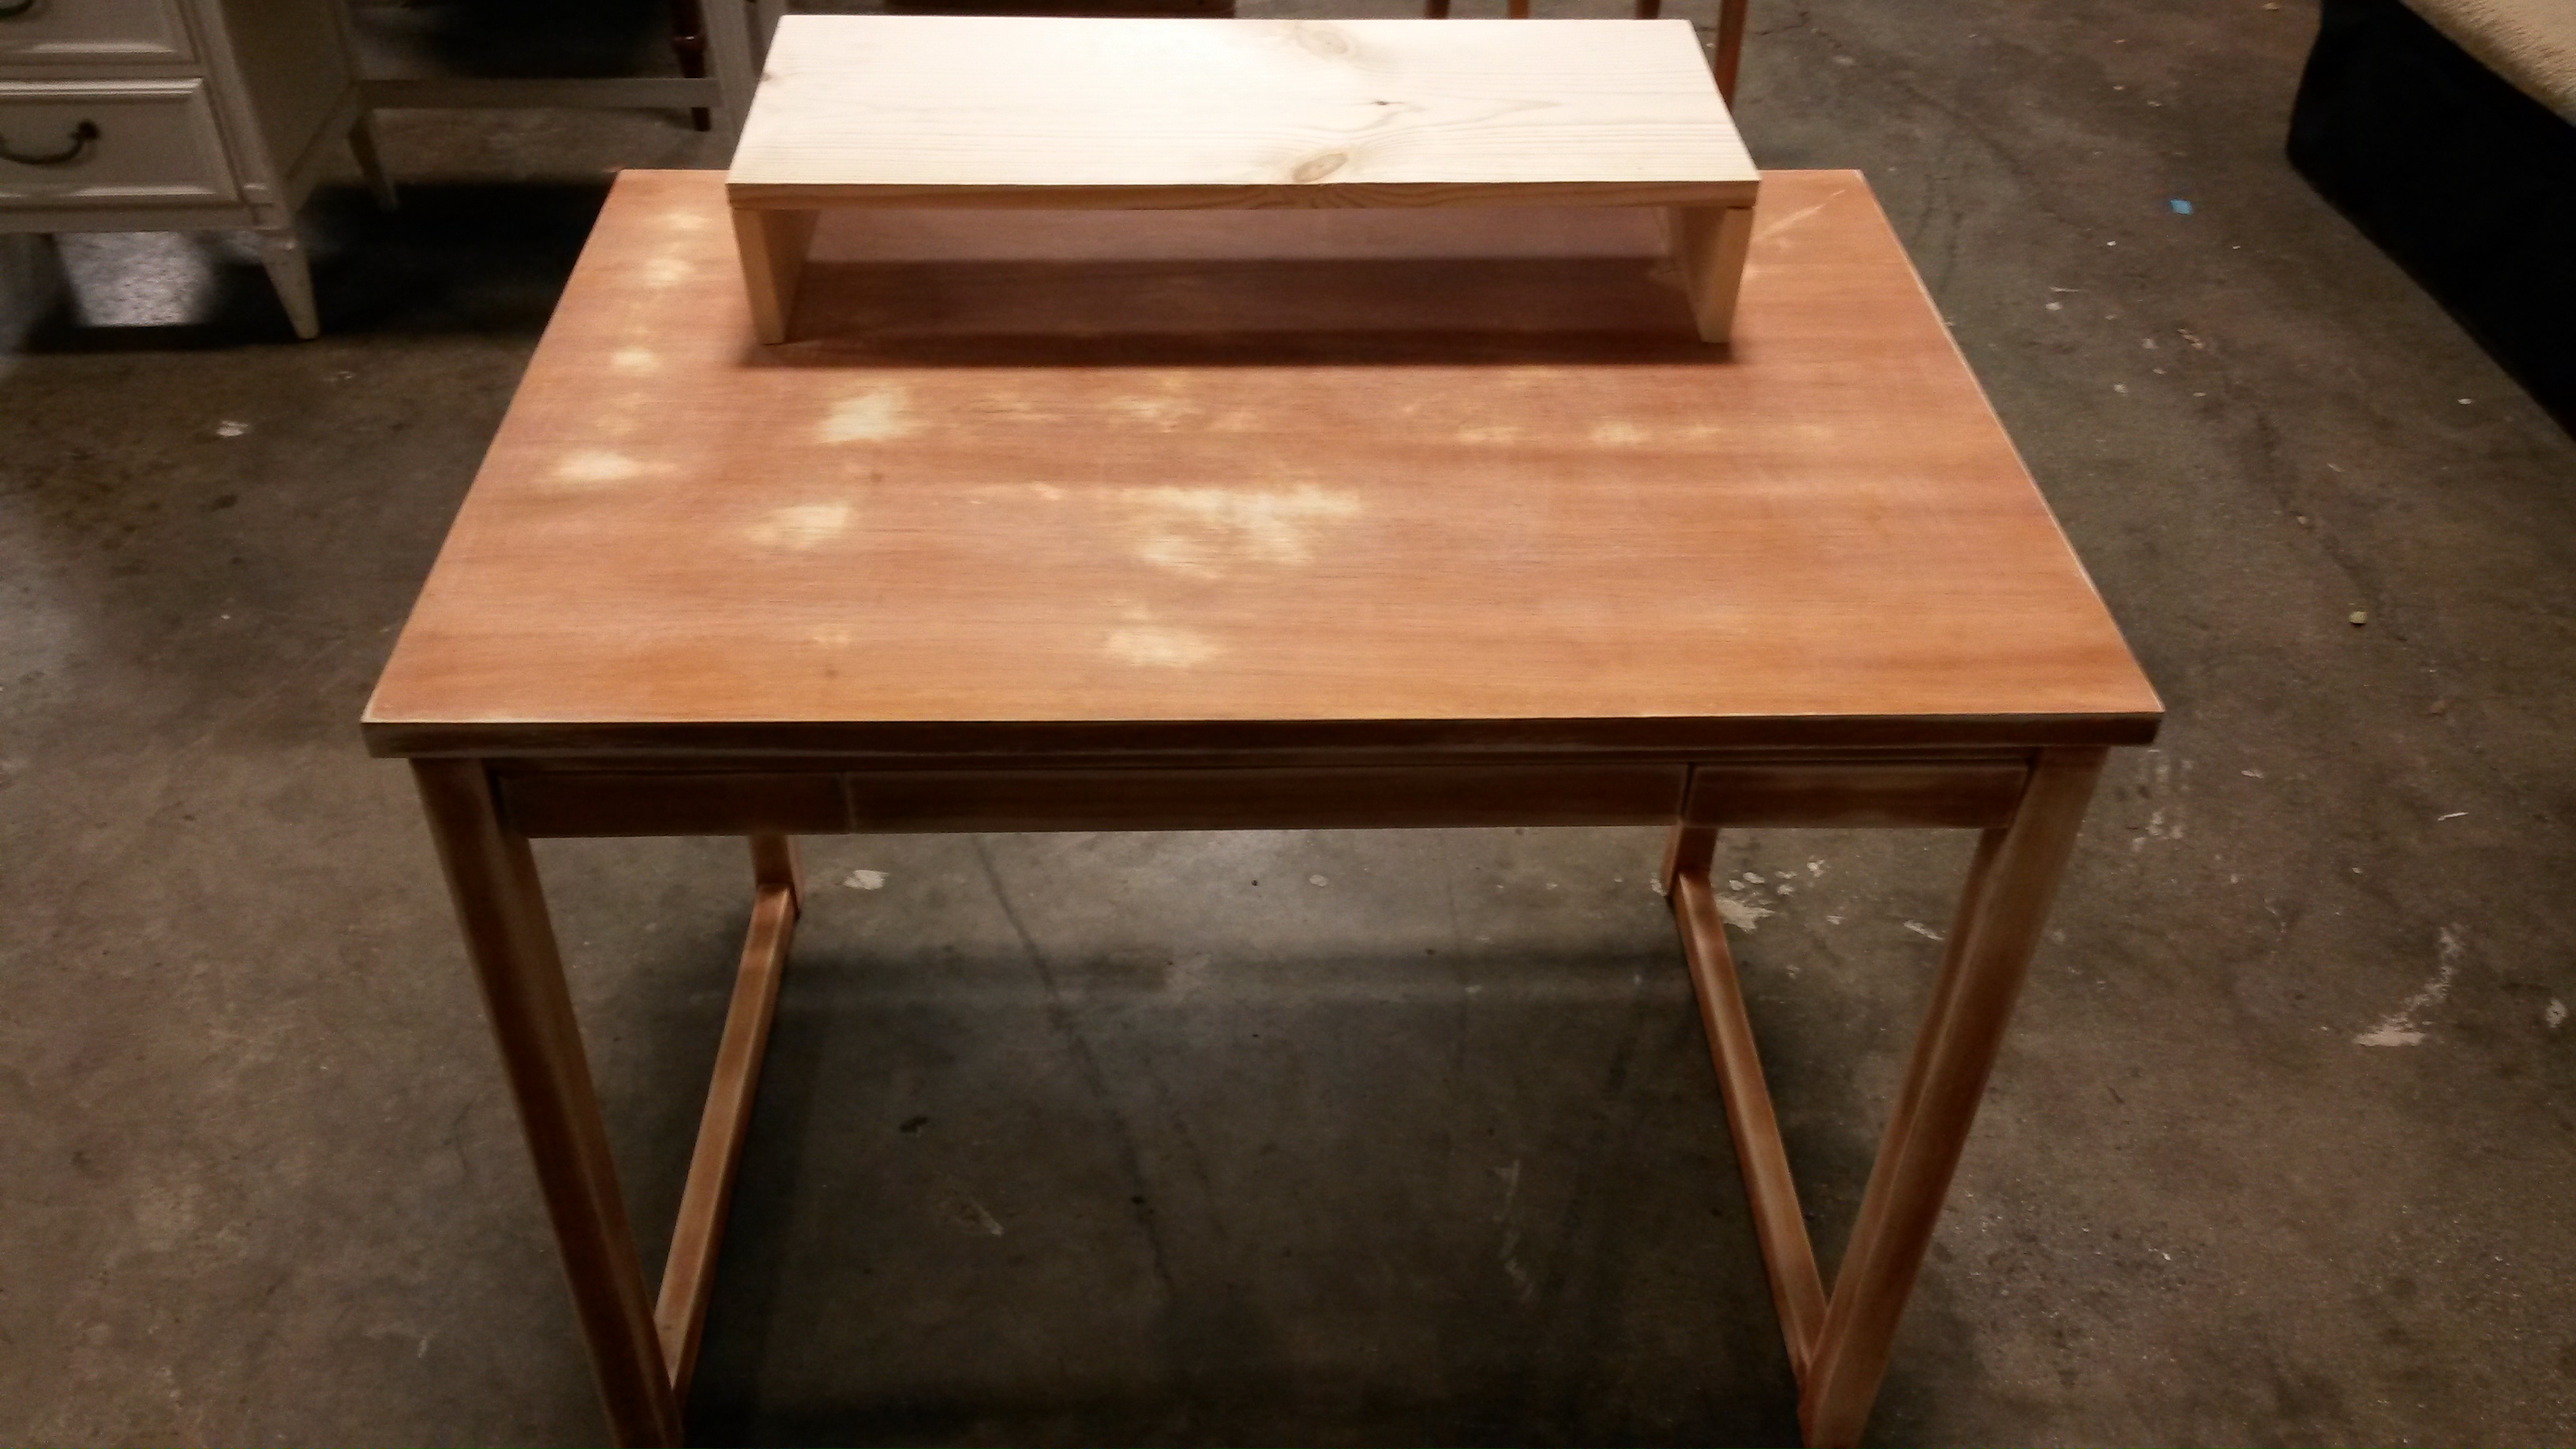
This is where it all started; with a $40 desk I found at a resale shop. Nothing too fancy. Just a nice, solid desk that I could clean-up quickly and easily, with plenty of potential for upgrades. The desk’s original stain was a bit too light to match with the rest of our entertainment furniture, so I decided to sand it down and restain it to a darker shade. I also bought and cut a few pieces of wood to act as a mini-hutch to sit on top of the desk. That way I’d be able to keep the monitor from using too much desktop space and the desk would gain a hiding spot for the keyboard/mouse.
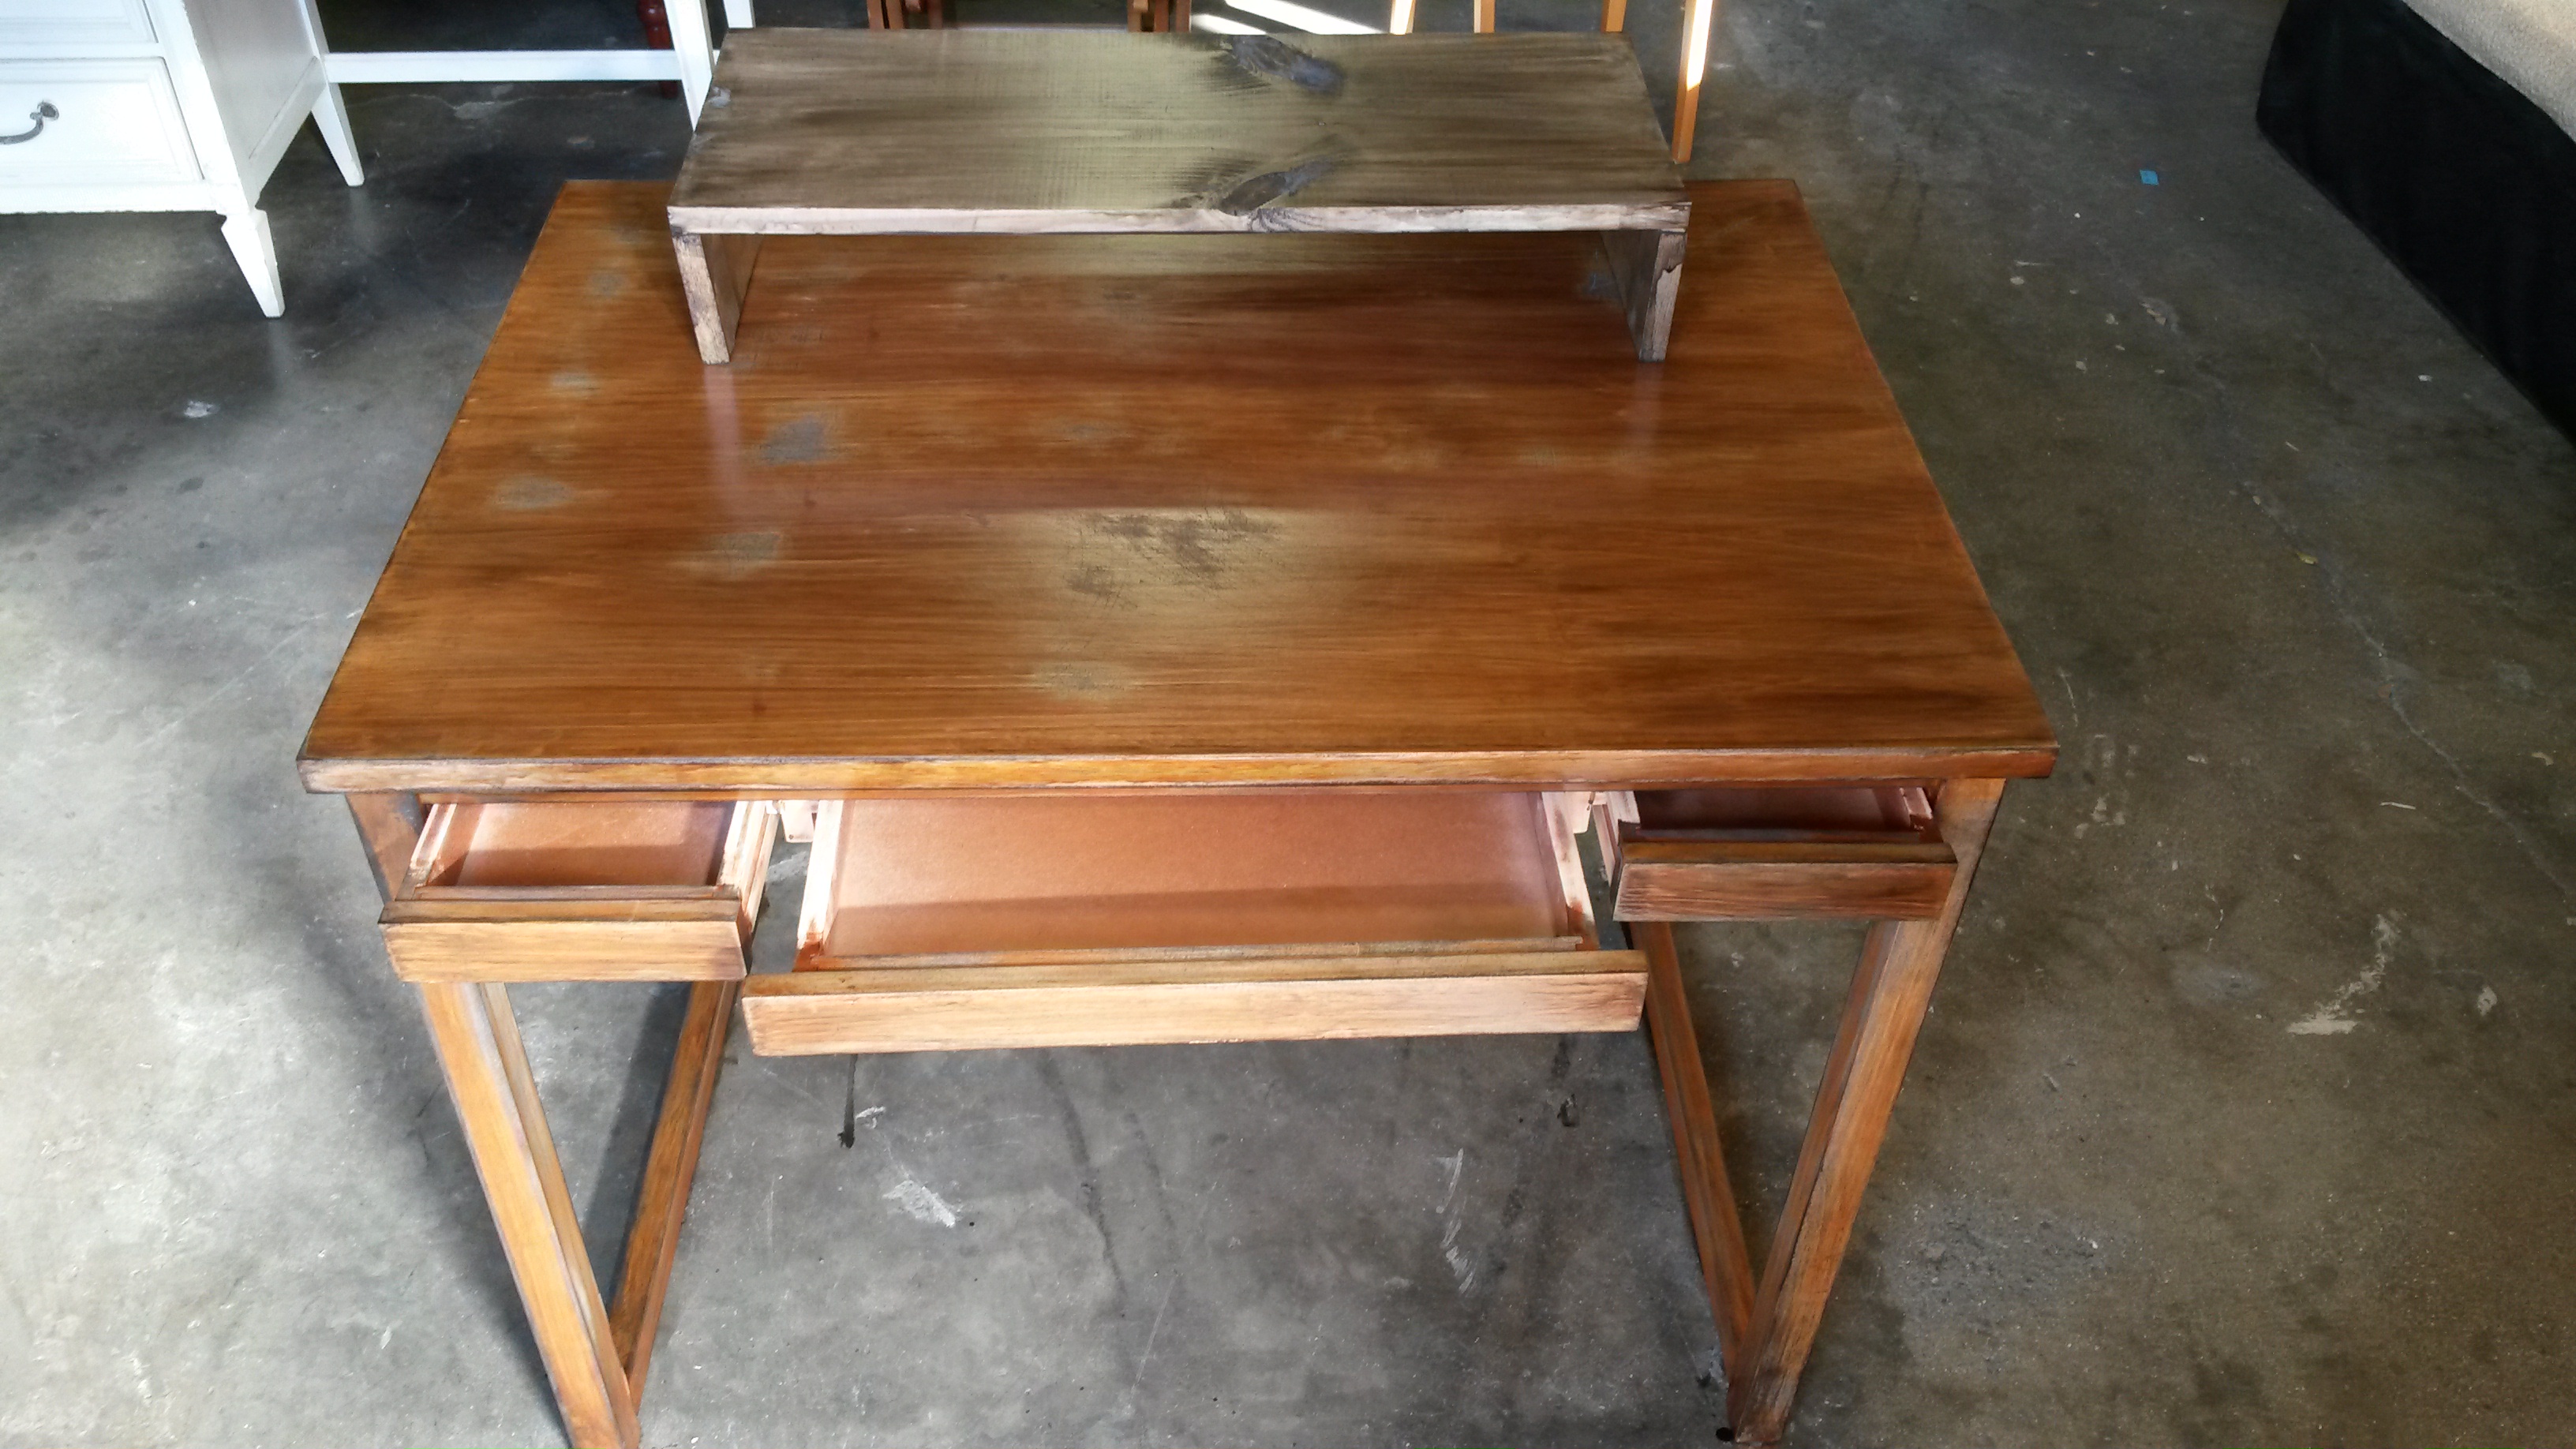
Here are the results from the first coat of stain. I used a polyurethane/stain mix to help seal the wood up tight. The tudor-tinted stain worked wonders on the raw-wood hutch, but the original reddish hue of the old stain had come through on the desk a bit more than I had expected. Though tedious, I applied an additional two coats of stain…
And here’s where the story takes a dark turn. The desk was close to perfect, the polyurethane had kept the desktop silky smooth and gave the desk a very professional look. The only problem? It was still just a shade too light. It would need one last coat of stain before it had reached the perfect tudoriness. I went to the hardware store to pick up a new can of stain but alas, they were completely out of polyurethane blended stain, but they did have the same tint in a standard stain. I was wary of mixing stain types, so I went to the gentleman behind the paint-counter for some advice. He reassured me the stain would take to the desk just fine with the poly-blend as a base. He was wrong. Very. Very. Wrong.
The polyurethane did exactly as I had feared and kept the new stain from fully settling on the desk. The result was a goopy mess of half-dried stain marring the hours of sweat and effort I had put into this desk. I know it seems inconsequential, but I was pretty devastated. Heed my warnings. Learn from my mistakes. Also, don’t take the “paint-expert’s” advice as gospel.
Rest assured, there is a happy ending. To cut things short, the hardware store that gave me the poor advice was so apologetic over the mistake that they offered a discount on any of the desks they had in their furniture section. Lo and behold, the desk I was working on for so many hours was in fact a model the store carrie. That’s right. The exact same desk. It even came in a darker stain. I bought the desk in a pleasantly bewildered haze and headed home.
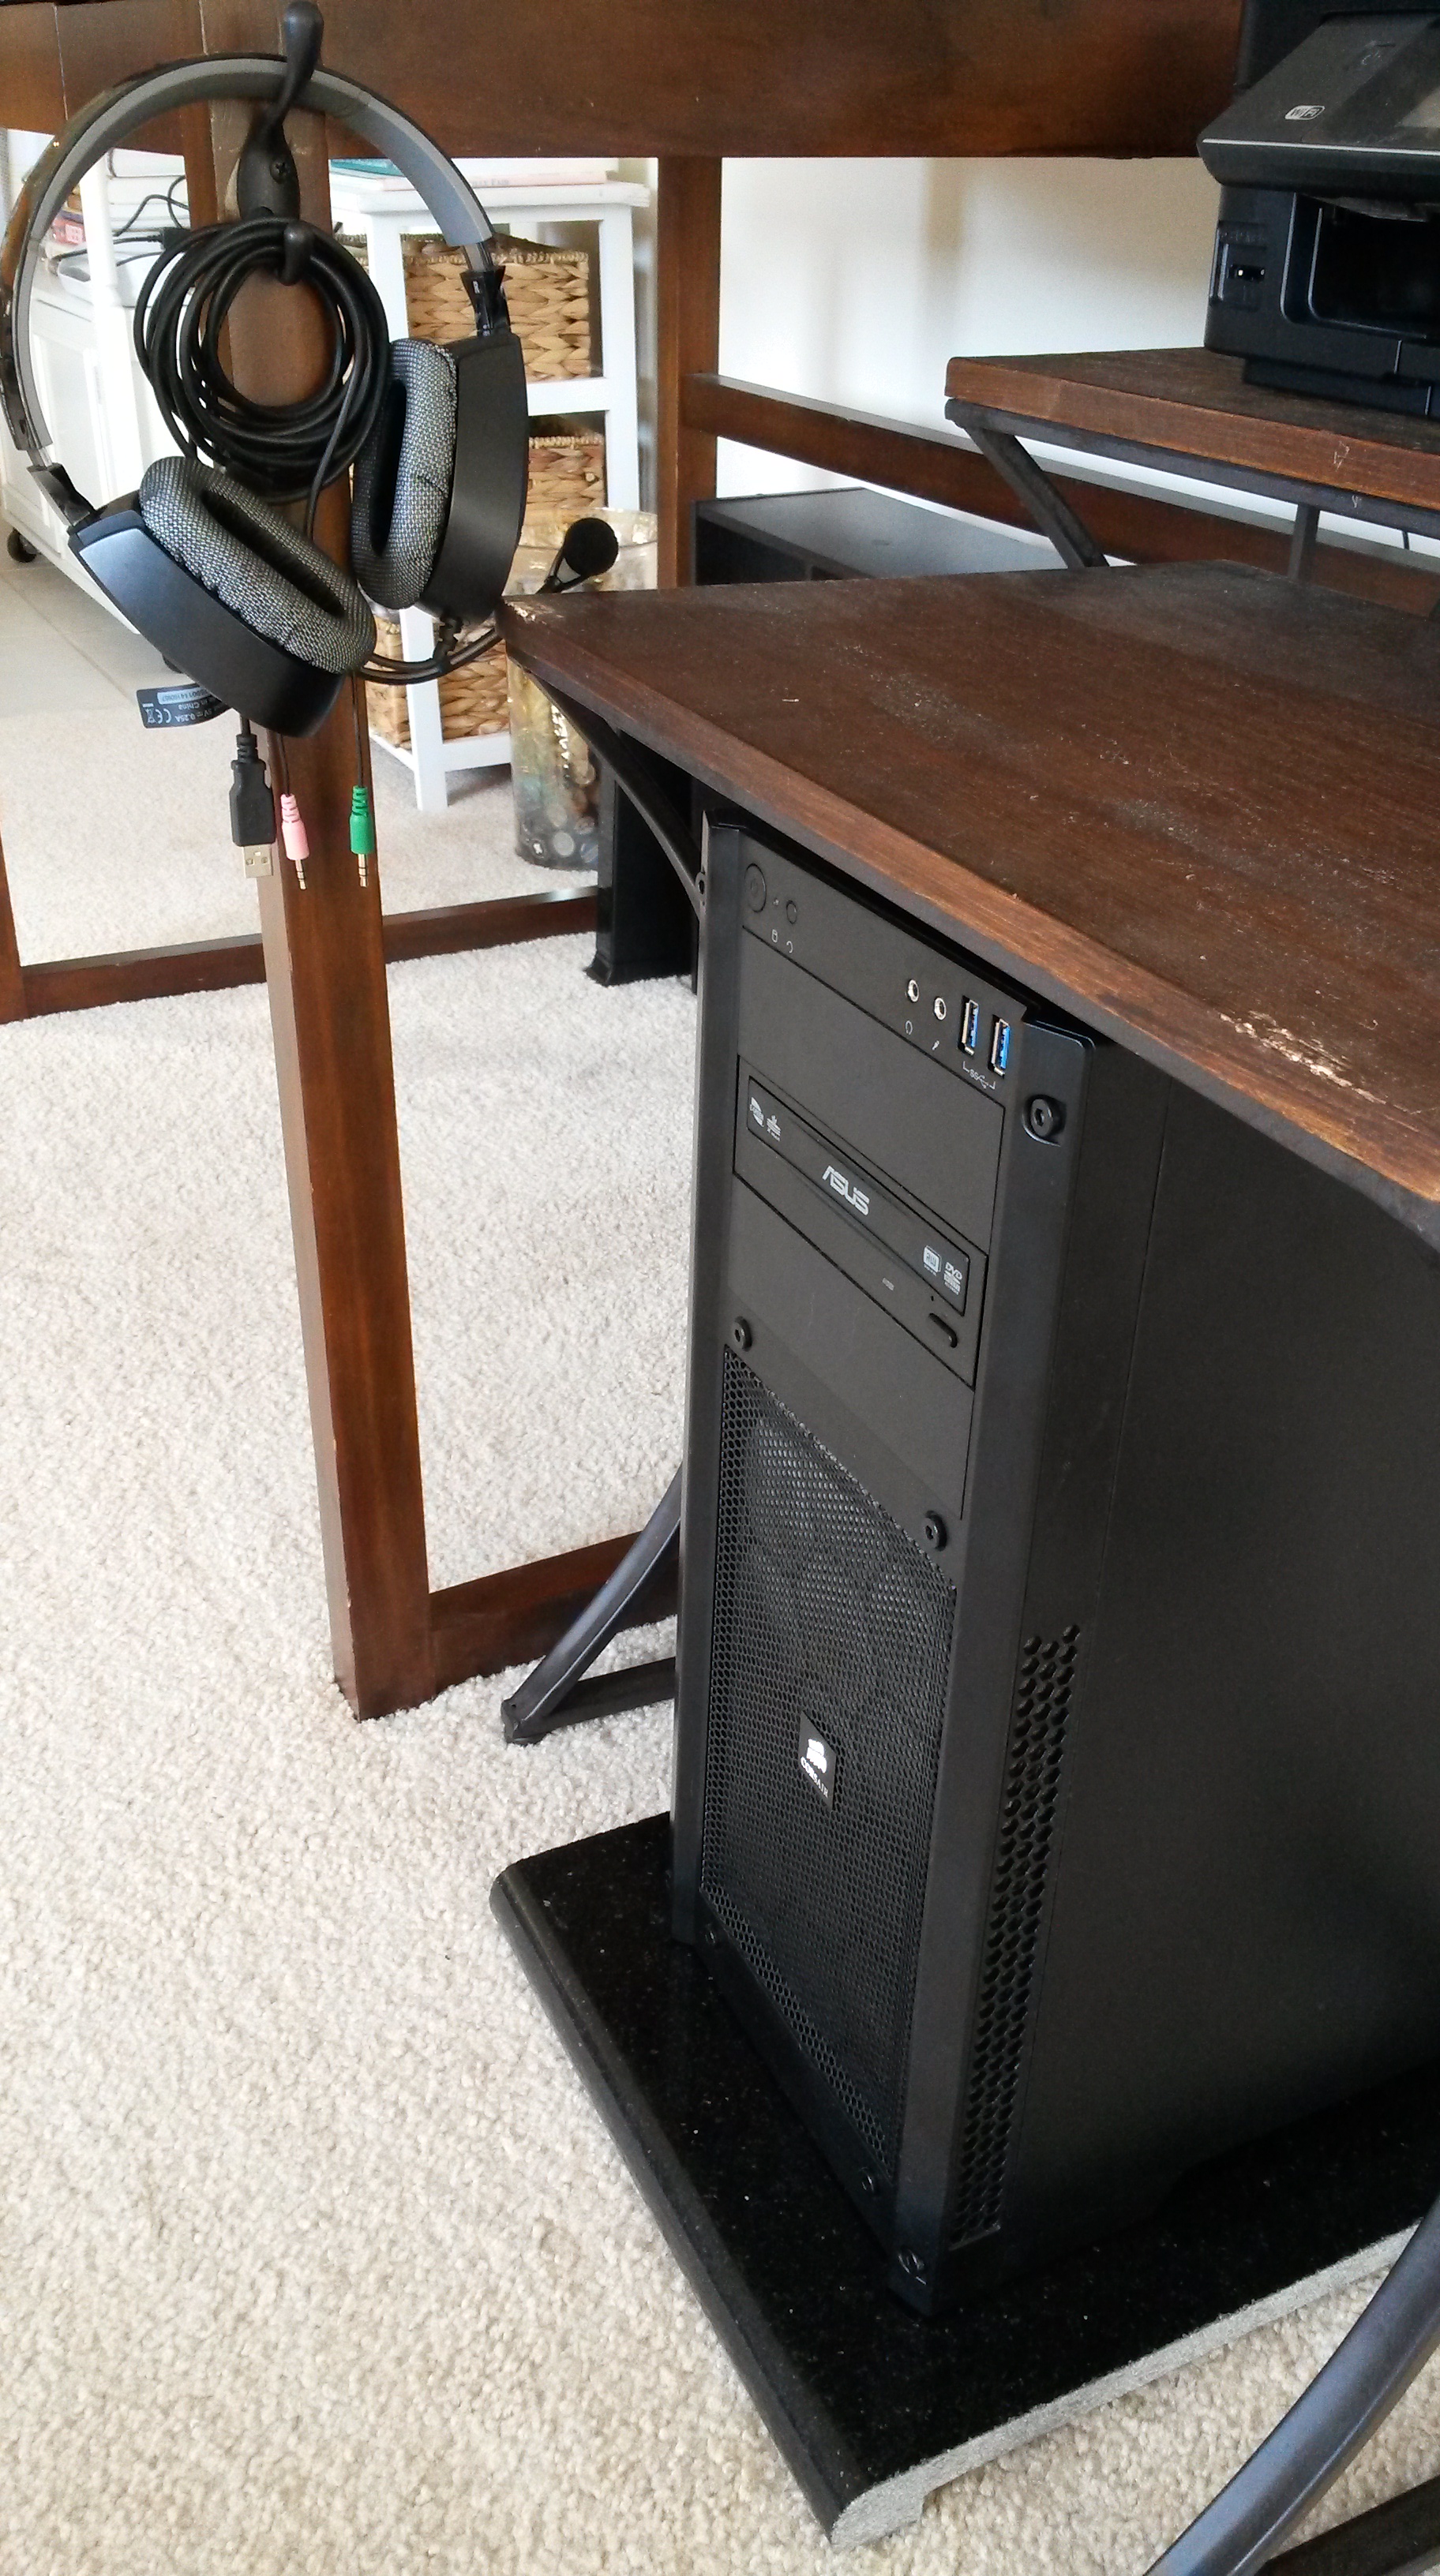
With the desk finally in its proper place at home, I was able to make my final modifications. An effective gaming space has a natural place for everything, keeping your essentials out of the way, but always within reach. I installed a hat hook onto the side of the desk as a makeshift (but ultimately perfect) headphones caddy, a pair of side tables made for a great printer/Wii U stand, and cable clips and velcro straps along the back helped deal with the pesky task of cable management. The final (and my personal favorite) touch was a piece of granite bullnose that I found and had cut down to make a tower stand.
It took a whole lot of time and patience, but the new battle station has finally come together. I’m sure I’ll find ways to continue upgrading it as I go along, but for now my gaming sessions are comfy and convenient enough for the long haul.

Battle Station: Complete